How to Roast Vegetables for Better Browning
Better roasted vegetables depend on dry surfaces, sensible cuts and space on the pan. Learn a flexible method and how to troubleshoot pale or burnt results.
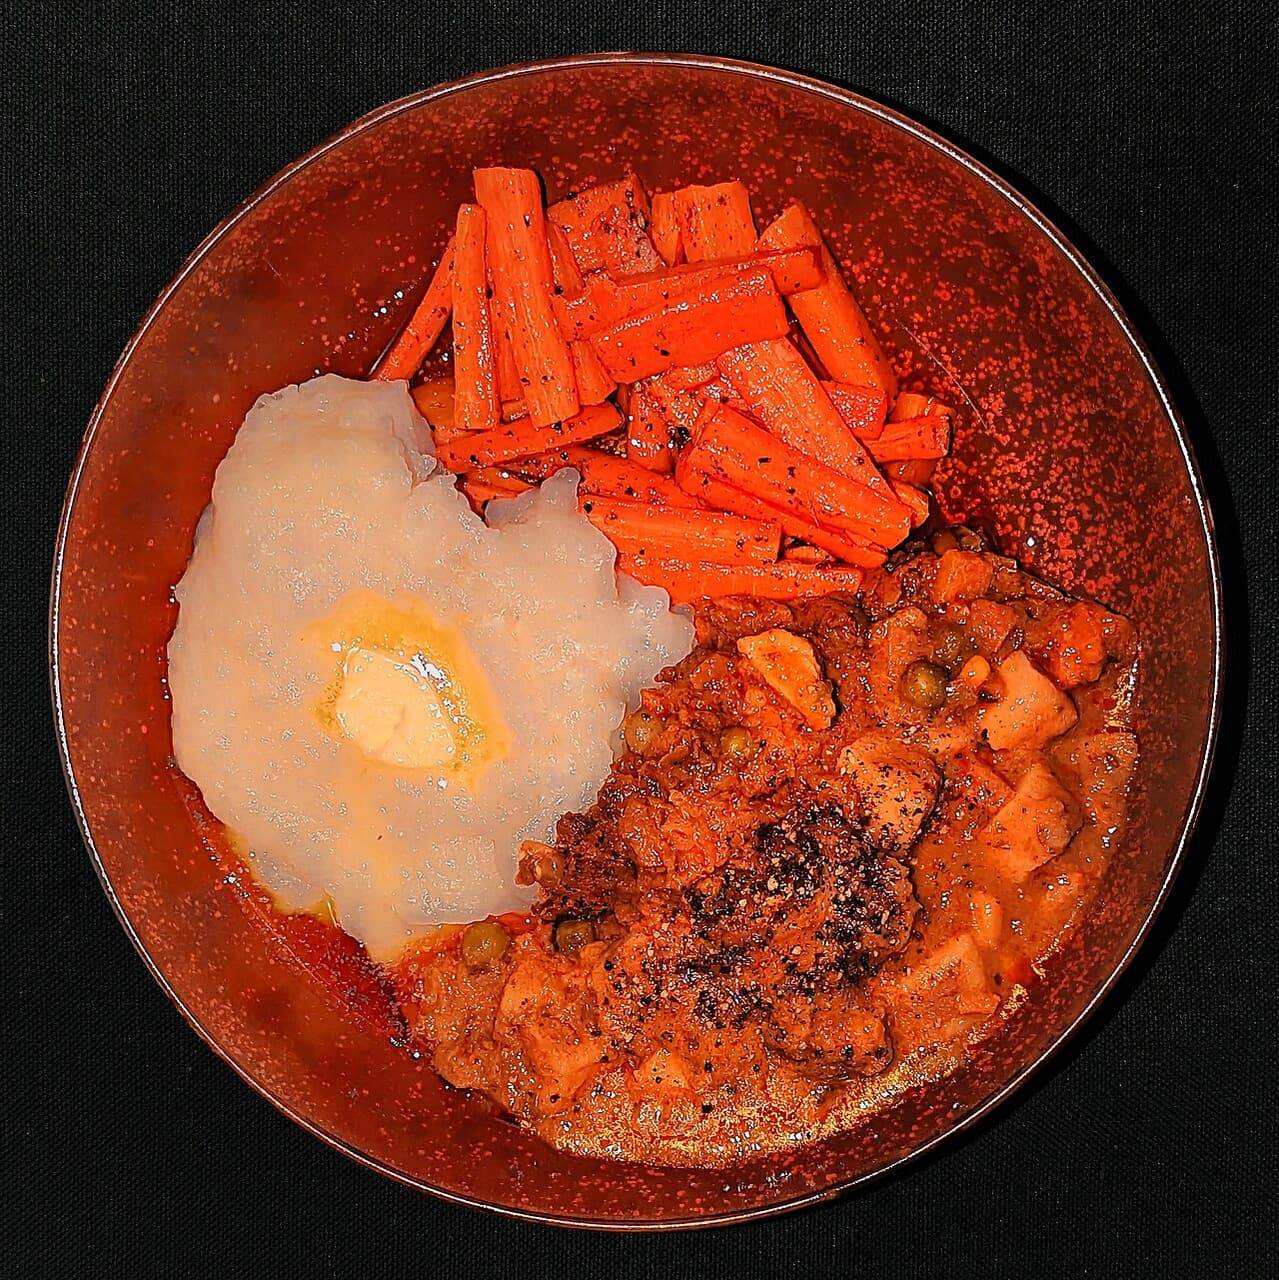
Browning is what separates a satisfying tray of roasted vegetables from a pan of soft, pale pieces. The most useful improvements are usually simple: dry the vegetables, cut them with their cooking speed in mind, and leave enough space for heat to reach the surfaces. A hotter oven is not a reliable cure for an overcrowded pan. The method becomes much easier when you watch the vegetables rather than waiting blindly for one universal cooking time.
Choose vegetables that can finish together
Dense pieces of carrot or squash usually need more time than a thin strip of pepper or a tender floret. You can put different vegetables in the same oven without forcing them to share the same schedule. Use separate pans, add quicker ingredients later, or cut denser vegetables smaller. The aim is a finished tray in which the pieces are tender when their surfaces have browned to your liking.
For a first attempt, pick one vegetable. A pan of carrots teaches you more about your oven than a crowded mixture of six ingredients that all behave differently. Once you know how that vegetable cooks, combine it with a second ingredient that has a compatible size and cooking time.
Wash, dry and cut deliberately
Wash produce appropriately, then dry the surfaces before adding oil. Water left on the outside has to evaporate before the surface can brown effectively. A damp bowl can undo careful drying, so check the equipment as well as the food. You do not need to polish every piece; simply avoid transferring a visibly wet pile straight from the colander to the roasting pan.
Cut pieces to broadly similar thickness. They do not need to be identical cubes, but a very thin tip and a large block will not finish at the same moment. With vegetables such as cauliflower, a flat cut side can give the pan a useful surface to brown. Keep your knife work safe and stable rather than chasing a decorative shape.
Coat lightly and spread the vegetables out
Toss the pieces with enough oil to coat them lightly, then season according to your recipe. A large pool of oil is not required for roasting, and dry patches can cook unevenly. Use a bowl large enough to turn the vegetables without sending pieces across the worktop. If you add seasonings, distribute them so that one corner of the tray is not carrying most of the salt or spice.
Spread the vegetables in a single layer with visible space between the pieces. If the pan is full, use a second one rather than piling more food on top. Crowding traps moisture and makes steaming more likely. This is often the main reason a tray seems to cook for a long time without developing the surface you expected.
Use the recipe temperature as a starting point
Many vegetables roast well around 425°F, or roughly 220°C, but the best setting depends on the vegetable, the oven and the preparation. Follow an appropriate recipe when learning a new ingredient. Check whether it assumes a conventional or fan-assisted oven, and use suitable oven-safe cookware. The number on the dial does not tell you exactly how hot every position in the oven will be.
Place the pan where the recipe recommends and avoid opening the door repeatedly in the first few minutes. When it is time to check, look at the underside of a piece as well as its top. The pan contact can develop color before the exposed surface looks particularly different.
Turn when there is something worth turning
Constant stirring makes it harder for a flat surface to stay in contact with the hot pan. Leave the vegetables long enough to develop some color, then turn or stir them as the recipe directs. Use a spatula that can lift underneath the pieces without scraping away the browned surface unnecessarily. If one side of the pan is cooking faster, rotate it carefully.
Tenderness matters as much as appearance. Pierce a dense piece to check its center, and taste a small piece after it has cooled enough. Brown edges around a hard center mean that the outside and inside are not finishing together. Next time, adjust the cut size, cooking schedule or heat rather than accepting burned surfaces as the price of a tender middle.
Add delicate finishes at the right moment
Fresh herbs, citrus zest and some sauces are often most useful after roasting. This lets their aroma remain distinct and gives you a chance to balance the finished dish. Ingredients containing a lot of sugar can darken quickly, so add a glaze only in the way a suitable recipe specifies. A finishing sauce should complement the vegetables rather than disguise whether they were cooked well.
Try roasted carrots with a little lemon and chopped parsley, or cauliflower with a yogurt dressing served alongside. If you are learning how citrus changes a dish, our guide to lemon zest, juice and pith explains why those parts do different jobs. Use a small amount first and taste the complete bite.
Troubleshoot the next tray
Pale and wet vegetables suggest excess moisture, crowding or insufficient cooking time. Burnt edges with hard centers suggest uneven pieces or a temperature and timing mismatch. A tray that is greasy rather than lightly coated may have received more oil than it needed. These observations are more useful than adding extra seasoning to a disappointing result.
Make a note of the vegetable, cut size, oven setting and approximate time that worked in your kitchen. Roasting becomes repeatable through those small details. The goal is tender vegetables with a browned surface you enjoy, not a photographically perfect tray that is difficult to eat.